Update: Windows 8.1 is no longer receiving mainstream support from Microsoft. But File History is a feature that is still built into Windows 10 and it works essentially the same way.
Turn on and Configure Windows 8 File History
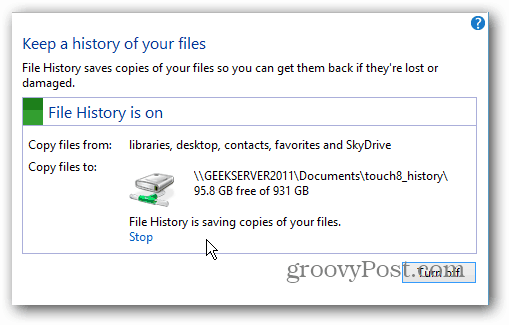
File History is turned off by default in Windows 8 and you’ll need to enable it. Before turning it on, you need to have an internal or external drive connected to your PC. Check out our guide on how to turn on File History.
Or, if you have a Windows Home Server or a NAS, check out our guide on how to make File History back up to a network location.
Configure File History
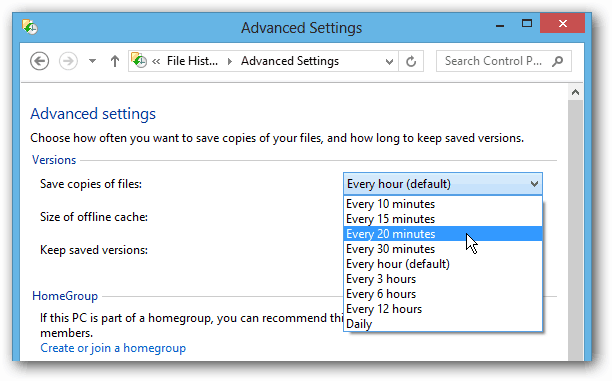
After you have File History turned on, there are some options to configure in Advanced Settings.
Here you can set how often to save copies of files. It’s set to back up every hour, but you might want backups more or less frequently.
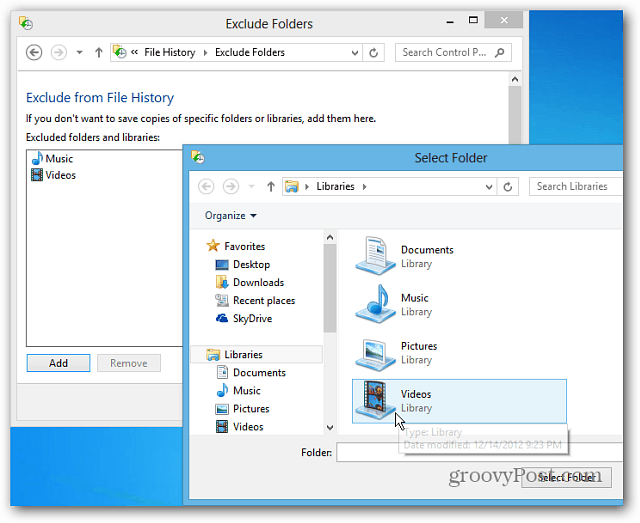
By default, File History backs up everything in Libraries, Favorites, Contacts, SkyDrive (if installed), and all items on the Desktop. There’s a lot of folders in Libraries like My Music, My Videos, and My Pictures. The number of files in those folders can add up quickly, making the File History backup rather large. You have the ability to exclude folders and Libraries from File History if you want to tone it down a bit. Click the Add button and browse to the folders you don’t want to be saved. This gives you the ability to save space by only saving copies of your most important documents. Here I’m excluding my music and video Libraries.
Recover Files from File History
After you have File History configured, it works in the background and you’ll basically forget about it until it’s needed. If you accidentally delete or modify a document and need it back, this feature is a lifesaver. You can launch it from the Start screen by using the keyboard shortcut WinKey + W to bring up Settings Search — type: file history then click its icon under the results.
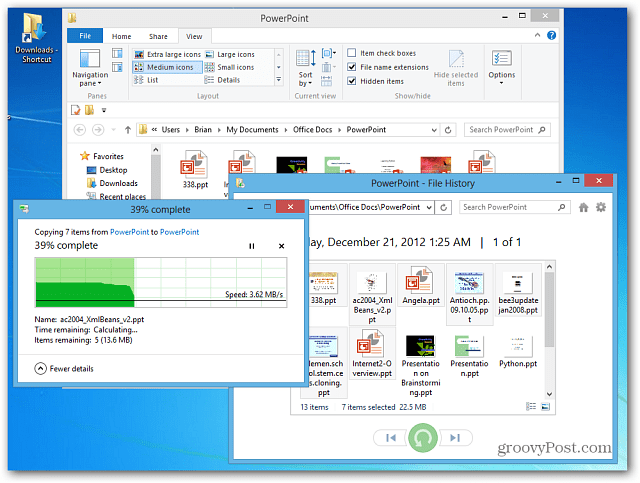
You can also get to it by clicking the File History button on the Windows Explorer Ribbon. It’s easiest to navigate to the location of the file you need, and launch it.
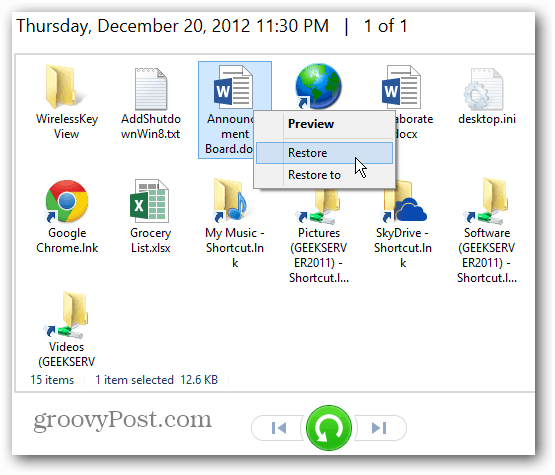
Now you can recover the file you need. The most recent backup of the files will appear, but you can navigate back in time to earlier dates. That allows you to recover files that were modified on a certain date.
To recover a file, right-click it and select Restore or hold Ctrl and highlight each file you need and click the green restore button. If you want to place a file in another directory, select Restore To.
You can also recover all files in a directory if you need them. Don’t select any files and just click the green restore button.
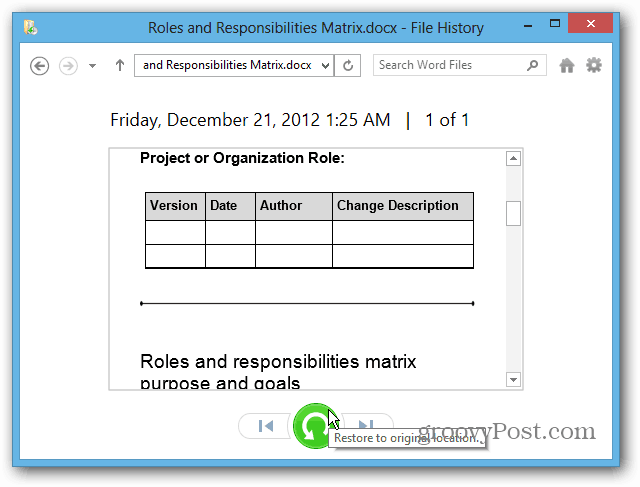
Another interesting feature of File History is the ability to preview documents in the recovery window. This makes it easier to find exactly what you’re looking for.
This is just one of the awesome features in Windows 8 that lets you save and recover your data. For more check out some these other features:
Storage SpacesPC ResetPC RefreshCreate a System Image
Comment Name * Email *
Δ Save my name and email and send me emails as new comments are made to this post.


![]()
