Using Dynamic Notifications on Android
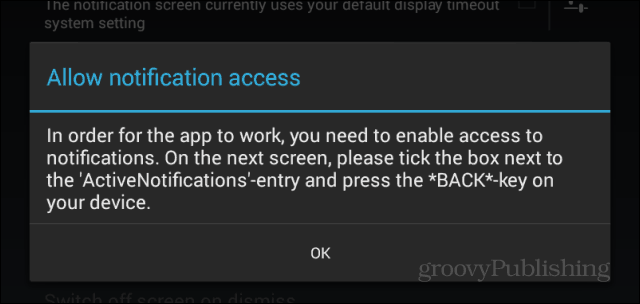
The app is free and you can get it from the Google Play Store, here. There is a paid version for $0.99, but most users will do just fine with the free one. After you’ve installed the app, you’ll be asked to give it access to notifications.
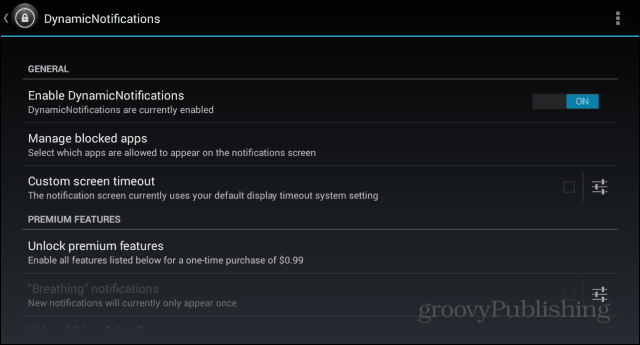
You can then come back to Dynamic Notifications and enable them. You’ll notice that the premium features are grayed out in the free version. Once you’ve enabled them, the next thing you’ll want to do is set a custom screen timeout, if you don’t want the app to use the default setting for your device.
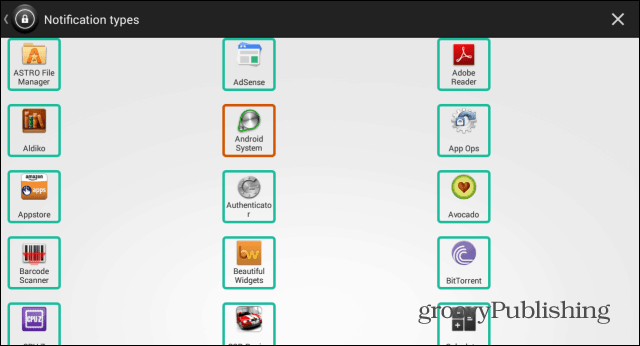
Next, click Manage blocked apps and decide the apps you don’t want to see these custom notifications for. I mean, I can understand not wanting to see a notification from the IMDB app there, but you’ll probably want those coming from Facebook or the Gmail app to show up.
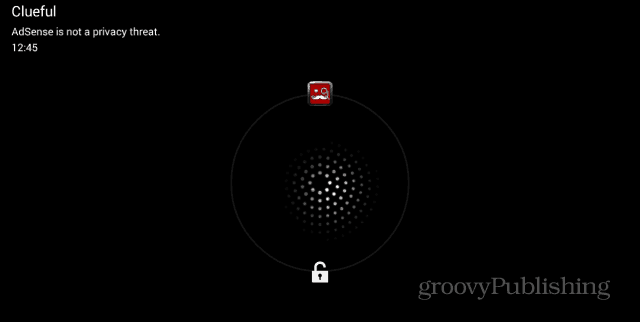
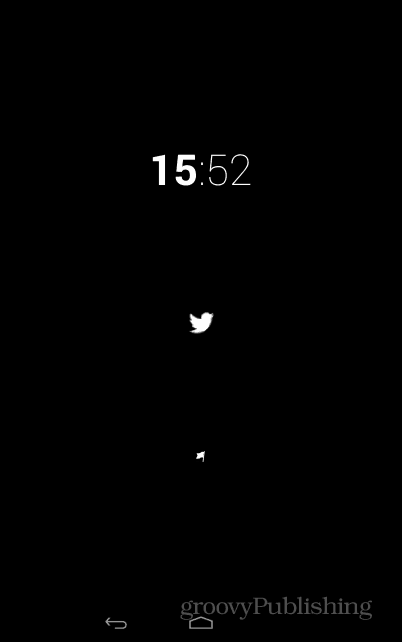
Now you can just sit back and let the app do its job and notify you of important events. It won’t show a notification when the device is in your pocket, purse, or is facing down to avoid accidental unlocks. Notifications will look something like this on your screen:
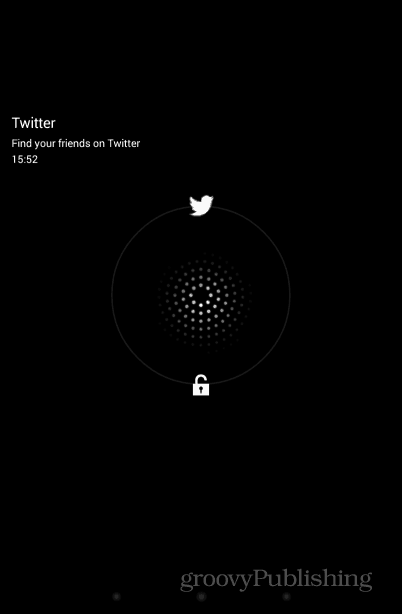
Once you tap a notification, you’ll be able to do one of two things: unlock your screen or go straight to the app that’s sending the notification.
The Dynamic Notifications app is an easy way of keeping in touch with the things most important to you in an easy way — just a quick glance at the screen. Comment Name * Email *
Δ Save my name and email and send me emails as new comments are made to this post.
![]()
