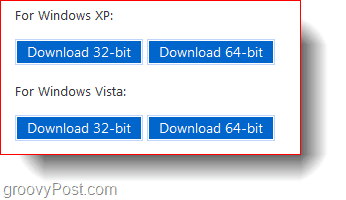
If you are upgrading from Windows XP to Vista or Windows 7*, you’ll have to Download the Easy Transfer Application to get started. Once you reach the download page simply choose the version that is right for you. Note: If your old computer is running Windows 7, the application is already included in your operating system.
Setup & File Transfer
Once you’ve installed the application all you have to do is select the method for transferring the data between your computers (or windows installations). For new computers use an Easy Transfer Cable or Network Transfer to get things done. For the preparation of a new Windows 7 install, use the External HDD or Flash Drive Mode.
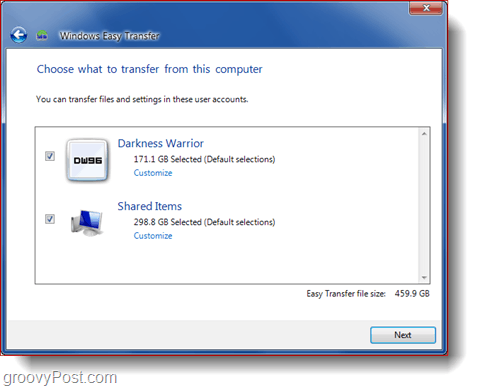
Once you’ve chosen your preferred method you will go through a few screens from where you can customize what you want to save and see the overall size of your transfer file. In my case it is pretty big since I chose to transfer everything.
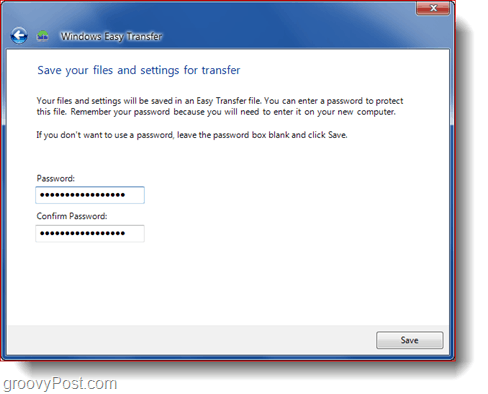
If you want to be extra safe, you can assign a password to your file (HDD & Flash Drive Transfer only).
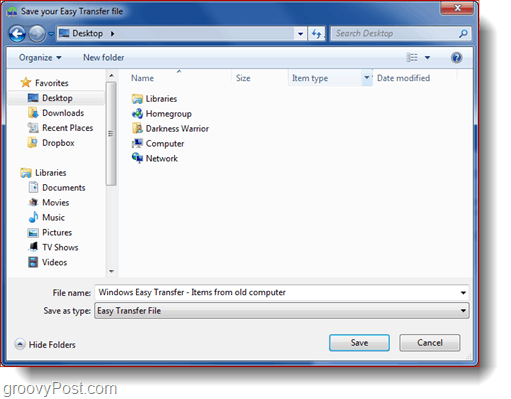
Once you’re done with the customizations you can begin the transfer immediately (if you chose an Easy Transfer Cable or Network), or you can save everything to a file to transfer using an External HDD (for the External HDD & Flash Drive option).
Overall
The easy transfer tool works really great and will save you the trouble of transferring everything separately. I would definitely recommend this instead of other software advertised on the internet. It’s free, it’s fast and it works great. Comment Name * Email *
Δ Save my name and email and send me emails as new comments are made to this post.


![]()
